
How to Start Your Candle Making Journey
- Flame Haven
- Jun 3, 2025
- 5 min read

Candle making is a beautiful and rewarding craft that has gained popularity in recent years. Whether you're looking to create customized gifts, enhance your home decor, or explore a new hobby, making candles can be a fulfilling experience. This blog post will guide you through the basics of starting your candle-making journey, including the essential tools, materials, techniques, and tips for success.
What is Candle Making?
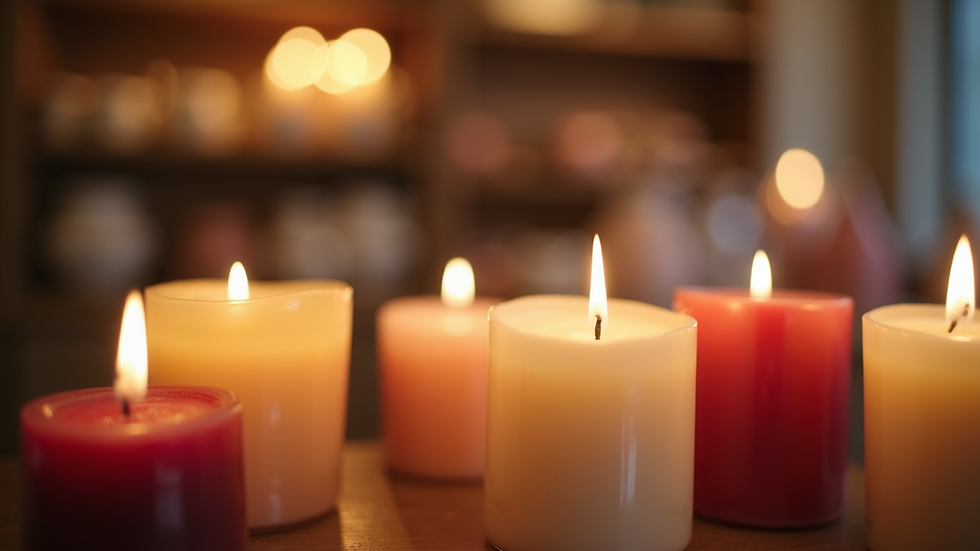
Candle making is the art of creating candles using wax, wicks, and fragrance. There are various types of candles you can make, from simple pillar candles to decorative container candles infused with essential oils. The creativity involved in candle making allows you to experiment with colors, scents, and shapes to produce unique creations.
The basic process involves melting wax, pouring it into a mold or container, inserting the wick, and allowing it to cool. Once you understand the fundamentals, you can explore different styles and techniques to personalize your candles.
Essential Candle Making Supplies
To begin your candle-making journey, you'll need a few essential supplies. Here's a list to help you get started:
Wax: The most common types of wax include paraffin, soy, beeswax, and palm wax. Soy wax is particularly popular for beginners due to its ease of use and excellent scent throw.
Wicks: Choose the right wick based on the size and type of candle you want to make. Wicks come in various materials, including cotton and wood.
Containers or Molds: Depending on the type of candle, you can use glass jars, metal tins, or silicone molds.
Fragrance Oils: Adding scent to your candles is what makes them special. Look for high-quality fragrance oils that are suitable for candle making.
Colorants: Gel or liquid dye can be used to add color to your candles, allowing for creative expression.
Thermometer: A thermometer helps monitor the wax temperature during the melting and pouring processes.
Double Boiler: This is a safe way to melt wax without direct heat, preventing it from burning.
Pouring Pitcher: A heat-resistant pouring pitcher is essential for transferring melted wax into your containers.
Once you have these supplies, you're ready to start experimenting with your first batch of candles!
Basic Candle Making Techniques
Candle making can be approached using various techniques, but let's start with the most straightforward method: container candles. Here's a step-by-step guide:
Step 1: Prepare Your Workspace
Set up a clean, organized workspace. Lay down newspaper or a silicone mat to catch any spills, and ensure you have all your supplies within reach.
Step 2: Measure your Wax
Using a kitchen scale, measure the amount of wax based on the size of your container. A good rule of thumb is that one pound of wax typically fills about 20 ounces of volume.
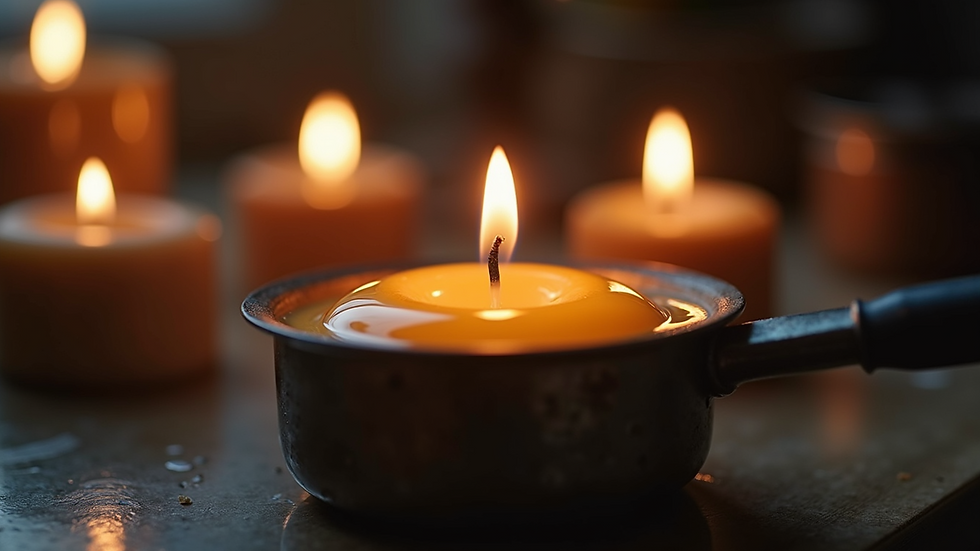
Step 3: Melt the Wax
Place the measured wax into the double boiler and heat it slowly. Monitor the temperature with your thermometer; soy wax typically melts at around 140-160°F (60-71°C).
Step 4: Add Fragrance and Color
Once the wax has melted completely, it's time to add your fragrance. Most recommendations suggest adding 1 ounce of fragrance per pound of wax. Stir thoroughly to ensure an even distribution. If you want to add color, do so at this point, and mix until you achieve your desired shade.
Step 5: Attach the Wick
Before pouring, secure the wick in the center of your container using a bit of melted wax or a wick sticker. You can also use a wick holder to keep the wick upright while the wax cools.
Step 6: Pour the Wax
Carefully pour the melted wax into your container. Make sure the wick stays in the center. Fill the container, leaving about half an inch at the top.
Step 7: Allow to Cool
Let the candle cool undisturbed at room temperature. This may take several hours, depending on the size of your container. Once it's completely solid, trim the wick to about half an inch above the wax surface.

Tips for Successful Candle Making
Starting your candle-making journey can come with some challenges, but here are a few tips to help you succeed:
Experiment with Scents: Don’t hesitate to mix fragrances to create unique combinations. However, always adhere to the recommended fragrance load to avoid problems such as poor burning or excessive soot.
Test Your Wicks: Not all wicks burn the same way. Testing several types and sizes will help you find the perfect fit for your candles. Consider factors like container size and wax type.
Control the Temperature: Maintaining the right temperature during the pouring process is crucial for achieving a smooth finish. Pour too hot or cold, and your candles may develop unsightly cracks or air bubbles.
Keep Records: Document your process and results. This practice is invaluable for repeating successful batches or adjusting recipes that didn't turn out as planned.
Join a Community: Explore local workshops or online forums where you can connect with other candle makers. This interaction can provide support and inspiration, especially if you're wondering about "candle making near me."
What to Try Next
Once you've mastered the basics, consider experimenting with more advanced techniques:
Layered Candles: Create candles with different colors and scents layered together for a visually stunning effect.
Textured Candles: Use different pouring techniques or molds to create unique textures and shapes.
Decorative Elements: Add dried flowers, herbs, or other decorative elements to your candles to personalize them further.
Eco-Friendly Options: Explore sustainable materials such as recycled containers or natural waxes for a greener approach to candle making.
Making Your Candle Making Journey Fun
Candle making can be a fun and therapeutic activity. Whether you plan to create candles for yourself or as gifts, here are a couple of ideas to make your journey more enjoyable:
DIY Kits: For beginners, consider starting with a DIY candle-making kit. These kits often include everything you need to create your first batch without the guesswork.
Host a Candle Making Party: Gather friends and family to share the experience. Not only is it a fun way to bond, but it also allows for creativity as everyone makes their unique designs.
Seasonal Themes: Create candles themed around holidays or seasons. For example, you might make pumpkin spice candles for fall or floral scents in the spring.
By incorporating creativity and joy into your candle making, you'll find the process even more rewarding. Your beautifully crafted candles can serve as home decor, thoughtful gifts, or delightful indulgences for yourself.

Crafting candles can be a delightful journey of exploration and discovery. Whether you are a beginner or have some experience, the world of candle making is vast and inviting. So gather your supplies, embrace your creativity, and uncover all the joys that come with this beautiful craft!


Comments